SmarTire Bezel Install
John Feinberg, 94 SSFebruary 2000
Click any picture to view a full-size image
|
|
SmarTire Bezel InstallJohn Feinberg, 94 SSFebruary 2000 Click any picture to view a full-size image |
|
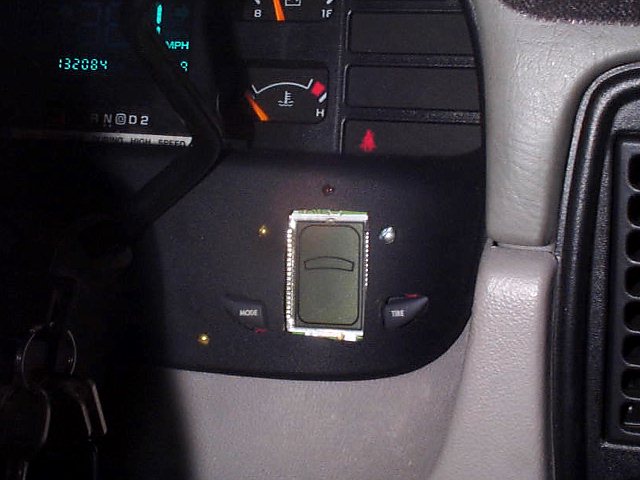
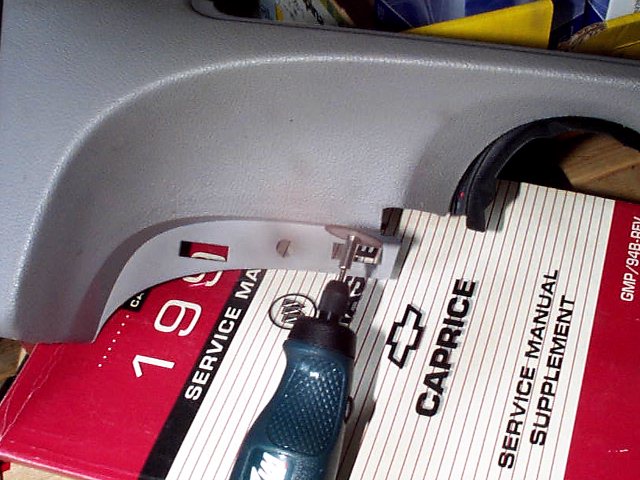
Remove the black dash bezel. Very easy - just 2 screws on top. There are also push-in posts on the bottom of the bezel (1 left, 2 right) so you have to tug a little. Once it was out, I used a Dremel to cut a square hole for the display, two curved holes for the buttons, and I drilled a hole for the LED. Finally I drilled three holes to bolt the SmarTire board onto the bezel. Someday I'll find black screws! Right now you're seeing what I could find in my toolbox. |
|
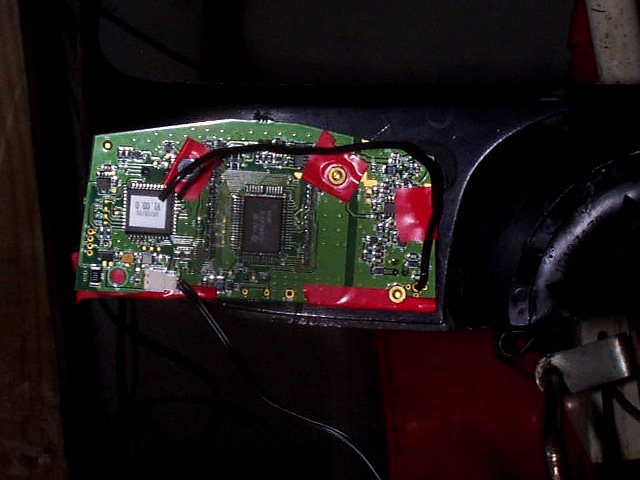
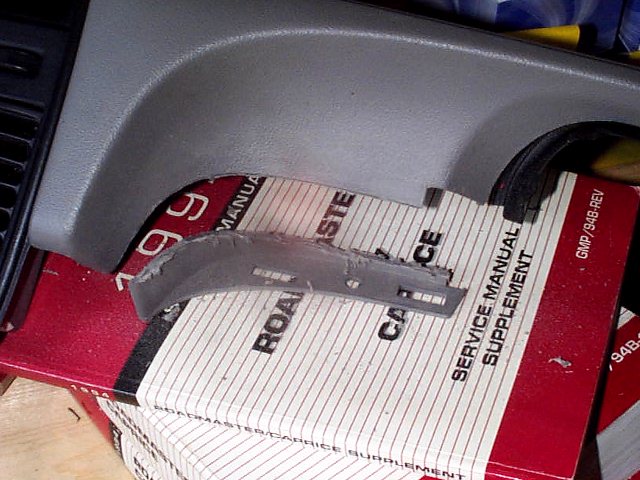
Here you can see the SmarTire circuit board as it is bolted to the bezel piece. |
 |
 |
 |
|||
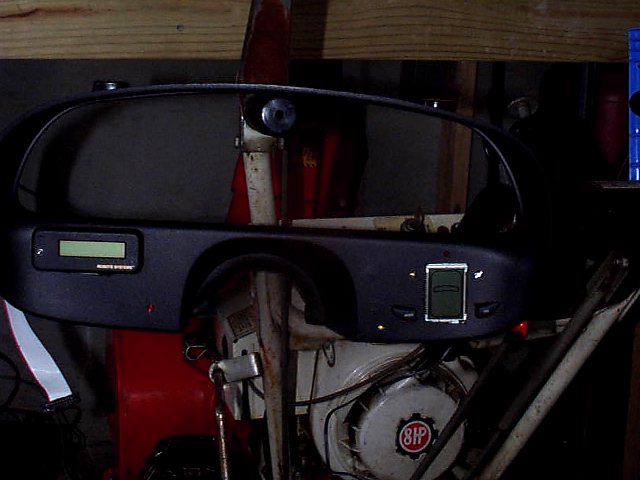
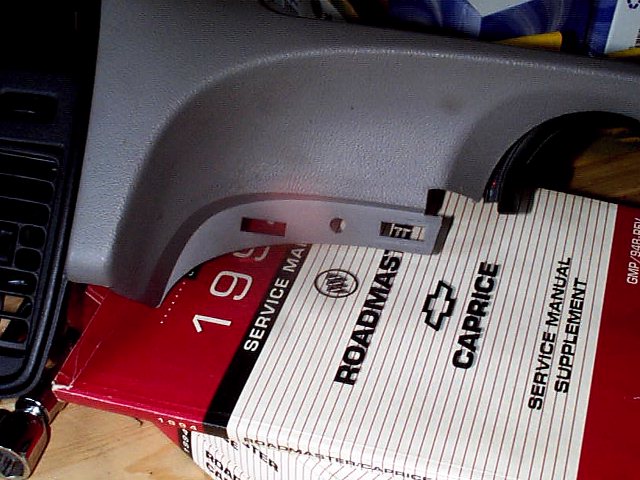
| Before | Cutting | After |
|
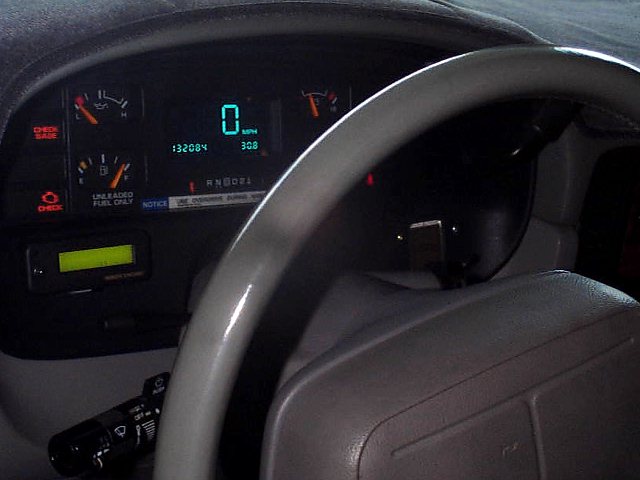
Put back the dash piece and the bezel and you are done! Note that if you are a hack with a Dremel tool you can buy more dash pieces (Instrument bezel,10250238,Instrument bezel,GM) and try again. For your second try you only need to remove the black bezel, and that's very easy. |